If you would like to find a very complete and useful glossary of embroidery terms go to http://stitches.com/mag/apparel_embroidery_glossary/index.html
posted by Ken Parsons at
7:15 AM
0 Comments
![]()
![]()
I have been an embroidery designer for 26 years as well as an adjunct professor teaching embroidery design at Fit for 10 years. This blog is all about my life, experiences and design philosophies and offers an insight into the fashion side of embroidery design.
posted by Ken Parsons at
7:15 AM
0 Comments
![]()
![]()
posted by Ken Parsons at
7:10 AM
0 Comments
![]()
![]()
posted by Ken Parsons at
8:23 AM
0 Comments
![]()
![]()
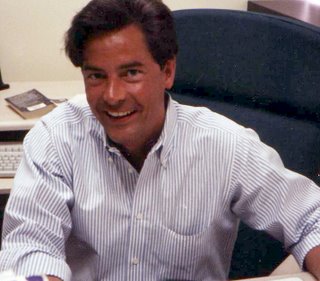
Ken is an accomplished embroidery designer and nationally-known instructor in the world of embroidery and fashion design. From Head Designer and President of his own fashion design house to bringing innovative insight into the designing of embroidery software, Ken has spent 27 years focusing his expertise in embroidery. He has been on the faculty of such shows as the Creative Embroidery Conference and Original Quilt and Embroidery Expo. Much of Ken’s time has been dedicated to the expanded use of embroidery products and recognition for the home embroiderer, serving as President of the American Embroidery Council and as a founding member of the Embroidery Hall of Fame. He has served as the Editorial Director for Stitches magazine, Profitable Embroiderer and Stitches World. For the past 10 years Ken has taught Embroidery and Lace Design at The Fashion Institute of Technology part of the State University of New York system. Ken has a passion for sharing his philosophies about designing and placing embroidery for maximum appeal and marketability.

Subscribe to
Posts [Atom]